


Custom garment printing can feel overwhelming when you’re juggling quality concerns, unpredictable costs, and confusing method choices. Whether you’re running a small apparel brand or exploring DIY projects, inconsistent results and budget overruns drain your time and profit. This guide walks you through a proven, step-by-step workflow for reliable custom printing. You’ll learn how to prepare materials, execute prints using screen printing, DTF, DTG, and POD methods, troubleshoot common issues, and verify quality. We’ll cover both hands-on techniques and smart outsourcing strategies so you can choose the approach that fits your business model and production goals.
Table of Contents
- What you need before you start custom garment printing
- Step-by-step workflow for custom garment printing
- Troubleshooting and common mistakes in custom garment printing
- Quality check and what to expect from finished custom garments
- Streamline your custom garment printing with DIY Printz
- Frequently asked questions
Key Takeaways
| Point | Details |
|---|---|
| Start with method match | Choosing the right printing method depends on quantity, fabric, and budget. |
| Prepare artwork properly | Well-prepared, separated color vector files prevent print mistakes and rework. |
| Test before bulk | Request a sample on your actual garment type before committing to large orders. |
| Quality check matters | Consistently inspect print quality, color accuracy, and durability after production. |
| Outsource for efficiency | Using POD or DTF transfers can simplify and speed up custom apparel production. |
What you need before you start custom garment printing
Before you print your first garment, gather the right supplies and make informed method choices. Your success depends on proper preparation, not just equipment.
Essential supplies and method selection:
- Fabrics: Cotton, polyester, blends. Match fabric type to your chosen printing method for best adhesion and durability.
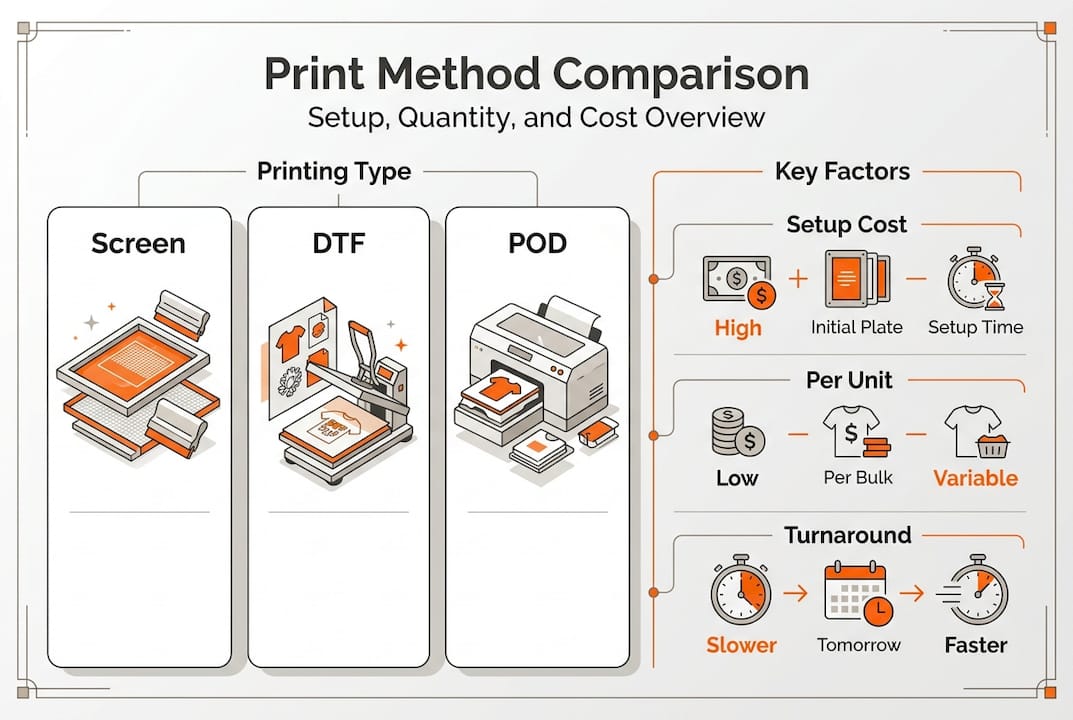
- Printing methods: Screen printing (bulk orders, simple designs), DTF transfers (versatile, no minimums), DTG (photo-quality, small runs), POD services (zero inventory, automated fulfillment).
- Artwork files: Vector formats (AI, EPS, SVG) for screen printing. High-resolution PNG or TIFF (300 DPI minimum) for DTF and DTG. Ensure proper color separation and file specs before submitting.
- Outsourcing contacts: Research POD platforms, local screen printers, and DTF transfer suppliers. Compare pricing structures and product catalogs to find partners that match your volume and budget.
Choosing the right method for your project:
| Method | Best For | Typical Quantity | Setup Cost | Per-Unit Cost |
|---|---|---|---|---|
| Screen Printing | Bulk orders, simple designs | 50+ units | High ($50-200) | Low ($5-15) |
| DTF Transfers | Versatile fabrics, no minimums | 1-500 units | None | Medium ($10-30) |
| DTG | Photo-quality, small runs | 1-50 units | Low ($20-50) | High ($15-35) |
| POD | Zero inventory, automated | 1+ units | None | High ($8-14) |
Pro Tip: Test your artwork on a sample garment before committing to a full production run. This catches color mismatches, sizing errors, and fabric compatibility issues early.
Organize your digital files in clearly labeled folders by design, color variant, and print method. Keep a spreadsheet tracking outsourcing quotes, turnaround times, and quality notes. This preparation saves hours when you’re ready to scale production or switch between different transfer options. For inspiration on finished results, check out custom dress examples that showcase various printing techniques.
Step-by-step workflow for custom garment printing
Now that you’ve gathered supplies and chosen your method, follow this detailed workflow to produce consistent, professional custom garments.
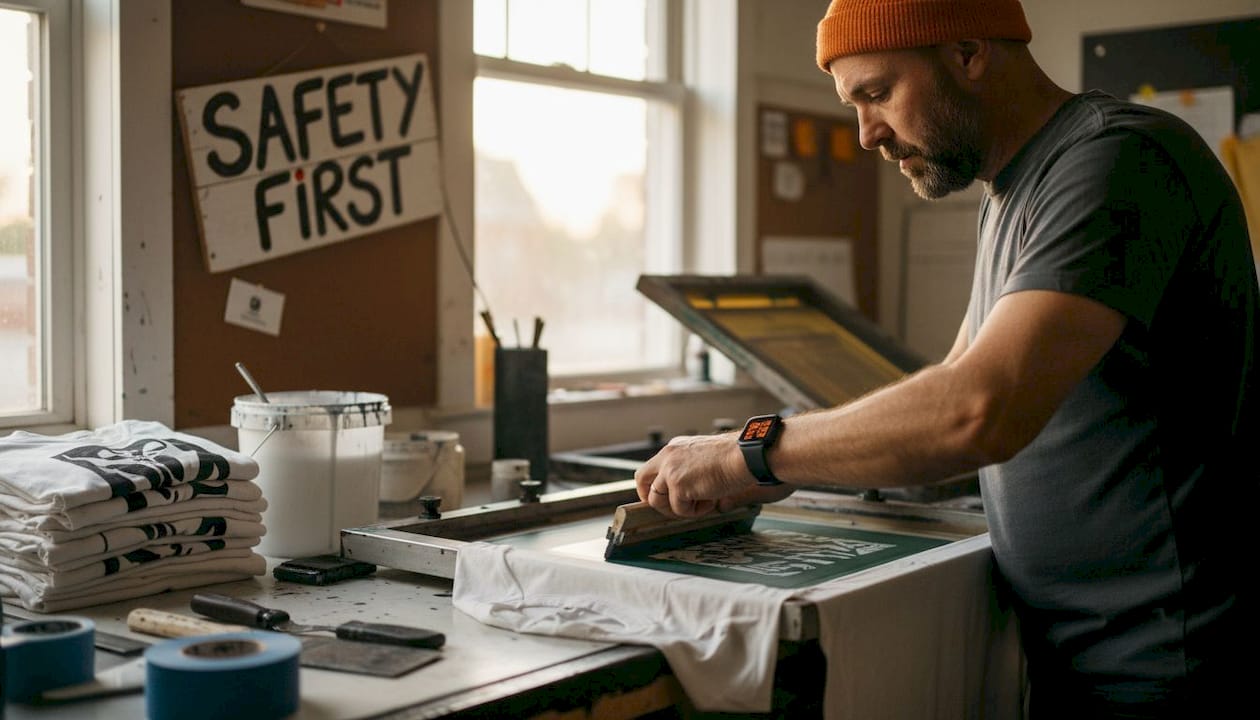
Screen printing process (bulk orders):
- Prepare artwork: Convert your design to vector format with separated color layers. Each color requires its own screen.
- Create screens: Coat mesh screens with photo emulsion, expose them to UV light through your design film, then wash out unexposed areas.
- Set up press: Secure garment on platen, align first screen, and load ink.
- Print layers: Apply ink through each screen in sequence, allowing flash-cure time between colors.
- Final cure: Heat-set the entire design at 320-330°F for 30-45 seconds to ensure wash durability.
- Quality check: Inspect for ink coverage, registration accuracy, and proper cure.
Screen printing delivers durable, cost-effective results for orders over 50 units, but setup time and waste make it impractical for small runs or frequent design changes.
DTF and DTG shortcuts for small businesses:
DTF transfers eliminate screens, emulsion, and multi-step curing. You print designs onto special film, apply powder adhesive, cure the transfer, then heat-press it onto garments in 10-15 seconds. DTG printers spray ink directly onto fabric, similar to an inkjet printer. Both methods handle full-color designs and small quantities efficiently.
POD services automate the entire process. You upload designs, customers order through your storefront, and the POD partner prints and ships directly. This removes inventory risk but limits your profit margins and brand control.
Cost comparison by method:
| Method | Setup Investment | Per-Shirt Cost (Small Run) | Per-Shirt Cost (Bulk) | Turnaround Time |
|---|---|---|---|---|
| Screen Printing | $500-2000 | $15-25 (under 50) | $5-10 (over 100) | 1-2 weeks |
| DTF Transfers | $0-50 | $10-20 | $8-15 | 1-3 days |
| DTG | $200-500 | $15-30 | $12-25 | 1-3 days |
| POD | $0 | $8-14 | $8-14 | 3-7 days |
According to industry comparisons, POD and DTF offer the fastest path to market for new brands, while screen printing becomes more profitable above 100 units per design.
Pro Tip: Order sample packs from multiple DTF suppliers before committing to large orders. Quality varies significantly between providers, and a $20 sample investment prevents costly mistakes on 500-unit runs.
For detailed guidance on DIY screen printing setup or current t-shirt printing best practices, explore method-specific tutorials. You can also watch
Troubleshooting and common mistakes in custom garment printing
Even with careful preparation, you’ll encounter challenges. Here’s how to identify and fix the most common custom printing problems.
Frequent issues and solutions:
- Color mismatch: Your screen shows RGB colors, but printers use CMYK or Pantone. Always request a physical proof before bulk production.
- Ink bleed: Caused by excessive ink application or wrong fabric pretreatment. Reduce ink volume and ensure proper garment prep.
- Stencil misalignment: Screen printing registration errors create blurry edges. Use registration marks and test prints to dial in alignment.
- Fabric incompatibility: Polyester requires different inks and temperatures than cotton. Verify fabric content before selecting your printing method.
- Transfer adhesion failure: Insufficient pressure or temperature during heat-pressing causes peeling. Follow manufacturer specs exactly.
Safety Warning: Temperature control is critical for proper ink curing and transfer adhesion. Under-cured prints wash out after a few cycles. Over-heating damages fabric and creates scorch marks. Always use a heat gun or infrared thermometer to verify exact temperatures.
Quality verification at each stage:
Inspect artwork files for resolution and color mode before printing. Check screen exposure and washout quality before loading ink. Test first prints on scrap fabric. Perform wash tests on samples before shipping to customers.
When outsourcing, request samples from every new supplier. Review their quality standards, turnaround guarantees, and return policies. A reliable partner like those offering fast turnaround printing can save your business when deadlines are tight.
Pro Tip: Keep a sample log with photos, supplier names, fabric types, and print settings for every successful run. This reference library becomes invaluable when reordering or troubleshooting future projects.
According to printing method analyses, screen printing offers superior durability on cotton but generates setup waste, while DTF and DTG provide flexibility with different trade-offs in hand-feel and cost. Understanding these nuances helps you match method to project requirements.
For comprehensive guidance on DTF printing advantages and proper heat transfer application, explore method-specific resources that address your exact printing approach.
Quality check and what to expect from finished custom garments
Understanding quality standards and realistic expectations prevents customer disappointment and returns. Here’s how to evaluate finished garments and set proper expectations.
Quality inspection checklist:
- Print crispness: Edges should be sharp, not fuzzy or pixelated. Fine details must be visible.
- Color accuracy: Compare finished print to approved proof. Minor variations are normal, but significant shifts indicate process problems.
- Durability: Gently scratch the print surface. Properly cured prints resist flaking. Wash test samples before shipping bulk orders.
- Hand-feel: Screen prints sit on top of fabric. DTF transfers feel slightly rubbery. DTG prints absorb into fibers for a softer feel.
- Coverage: Check for pinholes, streaks, or thin spots that indicate ink or adhesive application issues.
Method-specific characteristics:
Screen printed garments feel slightly raised and deliver vibrant, opaque colors. They withstand 50+ wash cycles when properly cured. DTF transfers handle complex designs and gradients well but may crack after 30-40 washes on high-stress areas. DTG prints offer photo-quality detail with the softest hand-feel but fade faster than screen prints on dark garments.
According to durability comparisons, screen printing lasts longest on 100% cotton, while DTF excels on polyester blends and stretchy fabrics where screen printing fails.
Realistic timelines:
- POD fulfillment: 3-7 business days from order to shipment
- DTF transfers: 1-3 days for transfer production, plus your pressing time
- DTG printing: 1-3 days for small runs, 5-7 days for 50+ units
- Screen printing: 1-2 weeks for setup, printing, and curing
Communicating quality to customers:
Be transparent about wash care instructions. Screen prints and DTF transfers require inside-out washing in cold water. Avoid bleach and high-heat drying. Set expectations about natural fading over time. A well-cared-for custom garment should maintain quality through 25-50 washes, depending on method and fabric.
For real-world examples of quality outcomes, review innovative custom print applications and strategic benefits of custom printing. You can also examine finished custom dress results to see various techniques in action.
Streamline your custom garment printing with DIY Printz
After learning the full custom printing process, you might want a faster path to professional results without the equipment investment and learning curve.
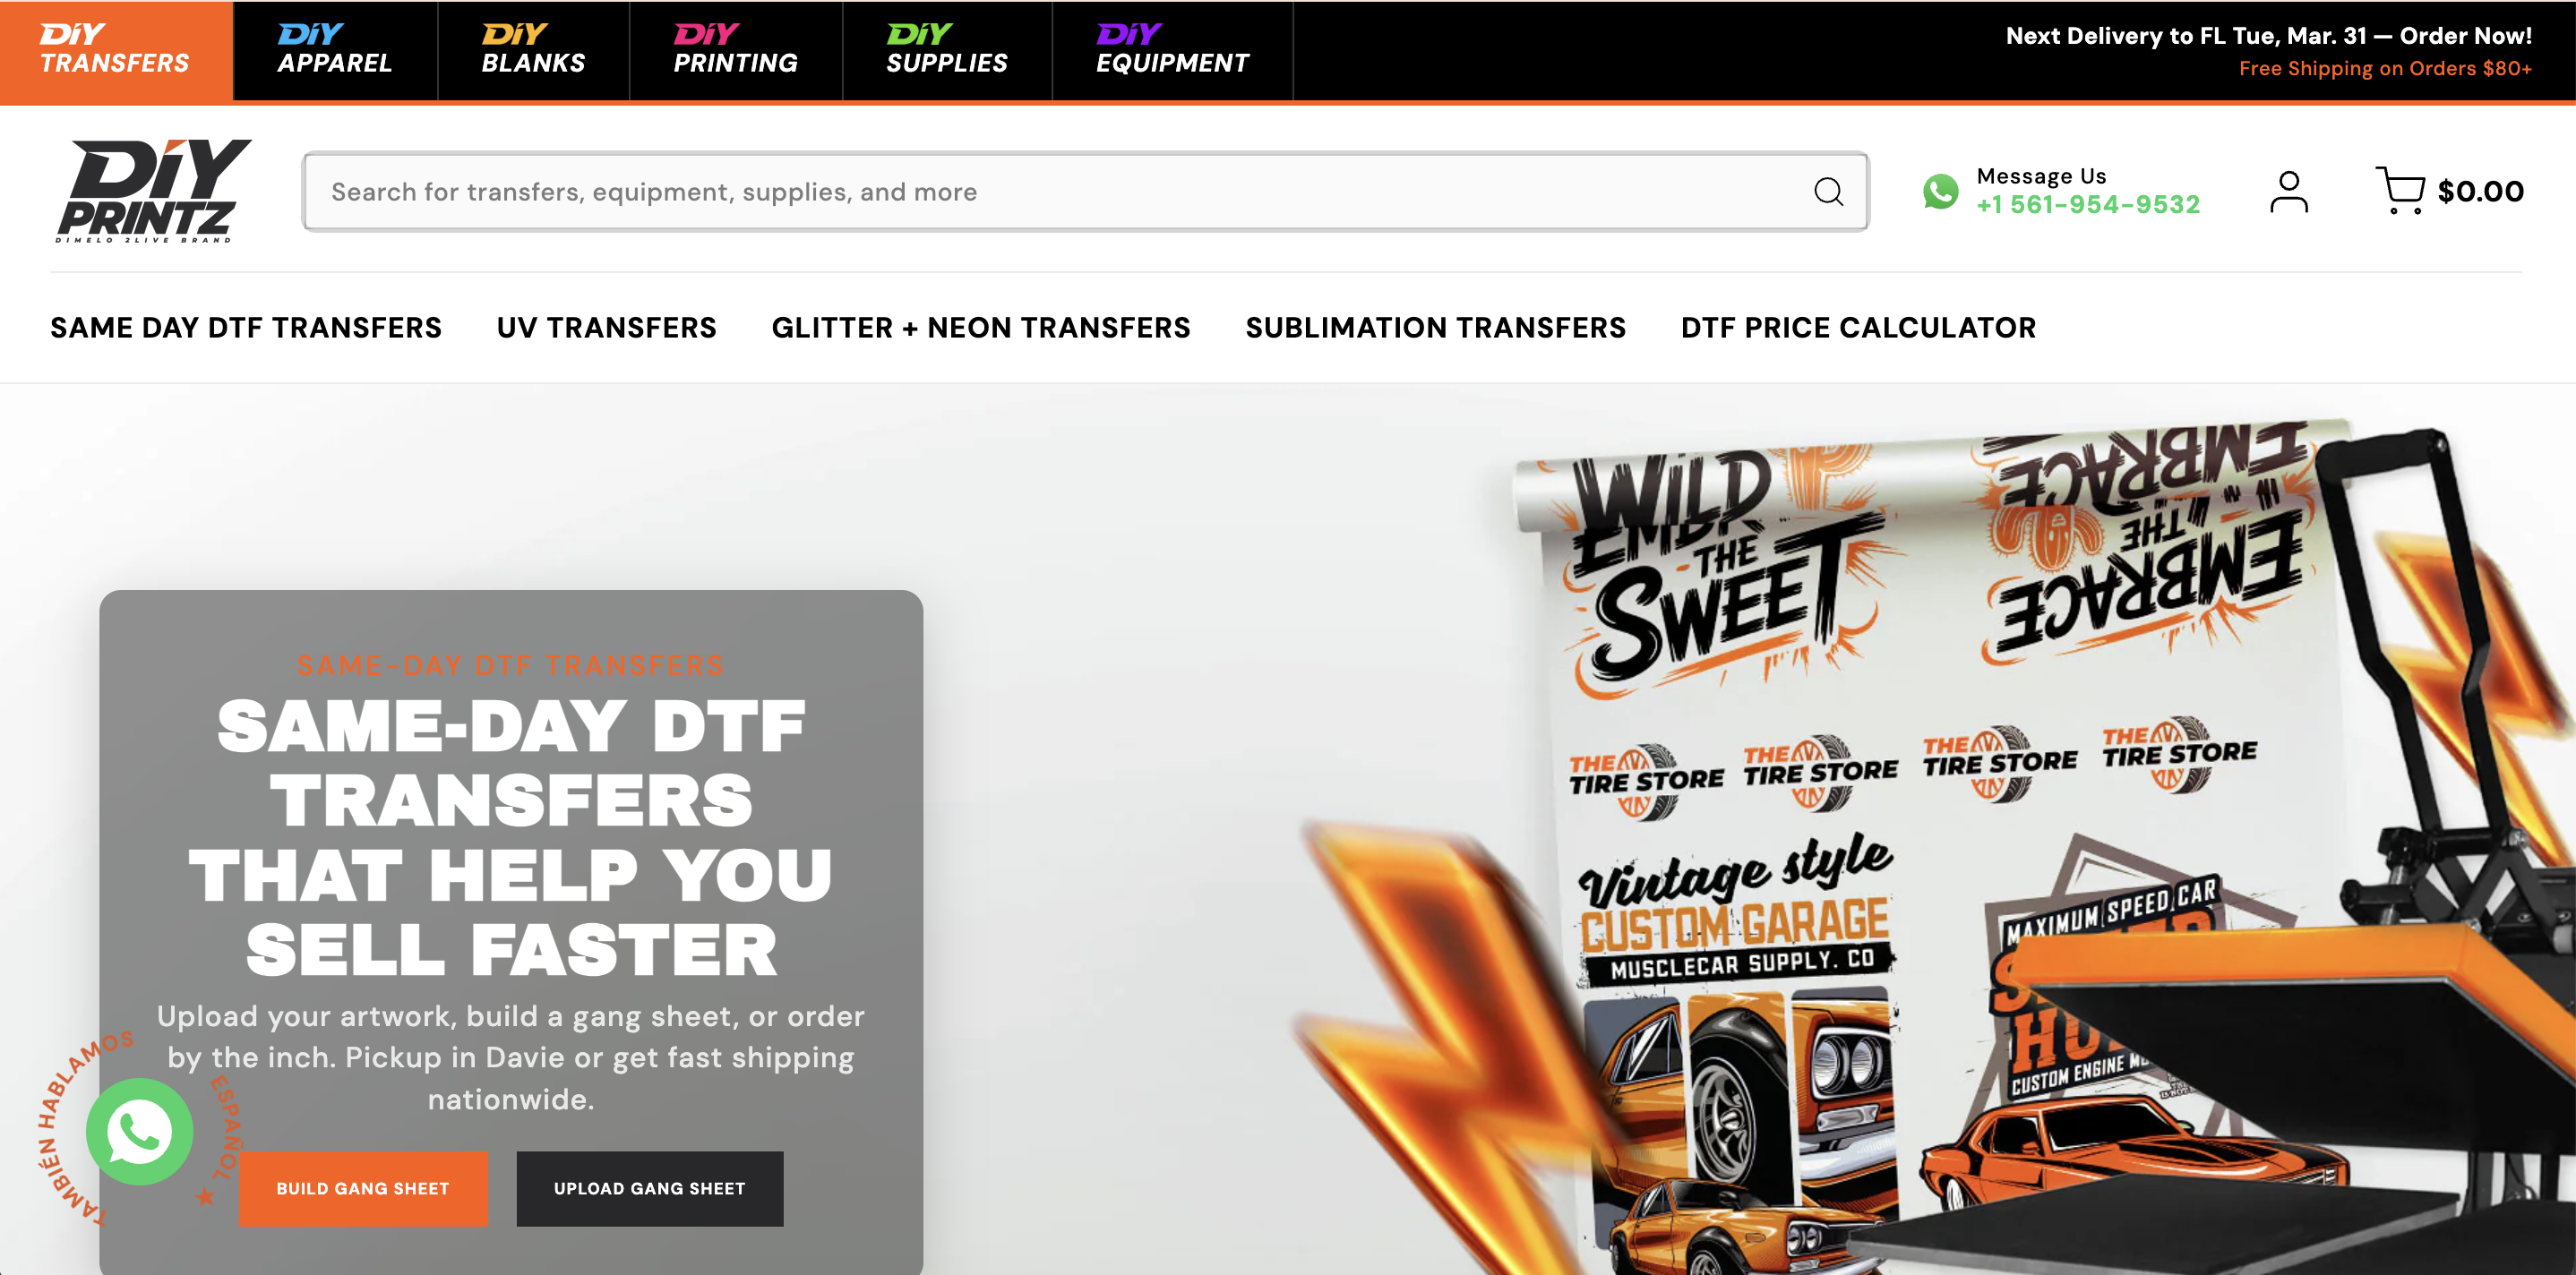
DIY Printz delivers ready-to-press DTF transfers with same-day turnaround, eliminating the complexity of in-house printing while maintaining full quality control. Upload your designs, choose your sizes, and receive professional transfers ready to heat-press onto your garments. We handle the printing, powder application, and curing so you can focus on pressing, fulfilling orders, and growing your brand.
Our same day DTF transfers service processes orders placed before 1PM for same-day shipment, perfect for rush projects and tight deadlines. For maximum efficiency on multi-design orders, our auto gang sheet service optimizes layout automatically, reducing waste and cost. Whether you’re testing new designs or scaling to hundreds of units monthly, DIY Printz provides the reliability and speed your apparel business demands.
Frequently asked questions
Which printing method is best for small garment runs?
DTF and POD services work best for small runs because they require no setup costs and handle single-unit orders efficiently. According to POD platform comparisons, these methods excel when you need design flexibility and low inventory risk.
How do I ensure my artwork prints correctly on garments?
Submit vector files with properly separated colors and always request a physical sample before committing to large production runs. Following standard artwork preparation guidelines prevents most print quality issues.
What are typical costs per shirt using different printing methods?
POD services charge $8-14 per shirt, bulk screen printing costs $5-15 for orders over 50 units, and DTG or DTF runs $10-30 for small quantities. These cost ranges vary by complexity and order volume.
How long does it take to receive finished printed garments?
POD and DTF transfers typically fulfill in 1-3 days, while bulk screen printing requires 1-2 weeks for setup and production. Fulfillment speeds depend heavily on your chosen method and supplier capacity.
Are DTF prints as durable as screen printed garments?
Screen prints last longer on 100% cotton garments, often exceeding 50 wash cycles. DTF transfers offer excellent durability across multiple fabric types and typically withstand 30-40 washes. According to method durability testing, both deliver professional results when properly applied and cared for.