

DTF Transfer Application Guide for Perfect Results
Discover a step-by-step dtf transfer application guide for flawless apparel decoration. Learn how to prep, apply, and verify professional transfers with ease.

Finding consistent quality in custom apparel can be a daily challenge for small brands and DIY creators. The difference between a faded logo and a crisp, vivid design often comes down to how well you prepare your workspace and garments before using DTF transfers. By focusing on professional DTF transfer preparation, you not only increase your production speed but also boost the satisfaction of your clients and customers who expect perfection in every print.
Table of Contents
- Step 1: Prepare Garments And Workspace
- Step 2: Align And Position Dtf Transfers
- Step 3: Press And Bond Transfers Accurately
- Step 4: Peel And Finish For Optimal Appearance
- Step 5: Verify Transfer Quality And Durability
Quick Summary
| Key Insight | Explanation |
|---|---|
| 1. Use high-quality garments | Select cotton or polyester blends that are clean, smooth, and pre-washed for the best results. |
| 2. Precise transfer positioning | Measure and mark the center of your garment, ensuring your transfer is symmetrical before pressing. |
| 3. Correct heat press settings | Set temperature between 305-320°F, apply medium to firm pressure, and press for 10-15 seconds for optimal bonding. |
| 4. Follow peeling techniques | Choose the right peeling method based on the transfer type: cold, warm, or hot, to avoid damage to the design. |
| 5. Conduct a thorough quality check | Inspect the transfer for color, adhesion, and durability before bulk production to ensure professional quality. |
Step 1: Prepare garments and workspace
Before diving into your DTF transfer project, you’ll need a clean, organized workspace and properly prepared garments to ensure a professional-quality result. Professional DTF transfer preparation starts with strategic planning and attention to detail.
Start by selecting high-quality garments - cotton and polyester blends work best for DTF transfers. Your fabric selection matters immensely. Look for shirts that are:
- Clean and free from wrinkles
- Smooth surface texture
- Pre-washed to prevent shrinkage
- Consistent color and fabric weight
Next, set up your workspace with all necessary tools within easy reach. You’ll want a large, flat surface like a clean work table or heat press station. Gather these essential items:
- Heat press machine
- Parchment paper
- Clean garments
- Temperature gun (optional)
- Transfer gloves
- Lint roller
Pre-press your garments by running them through a heat press for 3-5 seconds. This crucial step removes moisture, eliminates wrinkles, and creates an optimal surface for transfer adhesion. A smooth, dry foundation ensures your design will stick perfectly.
Pro tip: Always keep a clean, lint-free workspace and inspect your garments carefully before starting to prevent transfer imperfections.
Step 2: Align and position dtf transfers
Positioning your DTF transfer precisely is critical for achieving a professional and polished final product. When you’ve prepared your workspace and garments, the next crucial step is ensuring your transfer sits exactly where you want it. Custom apparel printing techniques demand meticulous placement to guarantee visual perfection.
To align your transfer accurately, follow these strategic steps:
- Measure and mark your garment’s center point
- Use temporary alignment markers
- Dry fit the transfer before final heat application
- Check transfer orientation and symmetry
Start by laying your garment completely flat on the heat press surface. Smooth out any wrinkles or fabric bunching that could distort your transfer placement. For t-shirts, use these visual alignment techniques:
- Identify the horizontal center line
- Align transfer relative to shirt seams
- Keep transfer parallel to shirt edges
- Maintain consistent distance from neckline
Precision in transfer positioning can make the difference between an amateur and professional-looking design.
Carefully position your transfer using light tack or positioning tape to temporarily hold it in place. This allows you to step back, assess the placement, and make minor adjustments before committing to the final heat press.
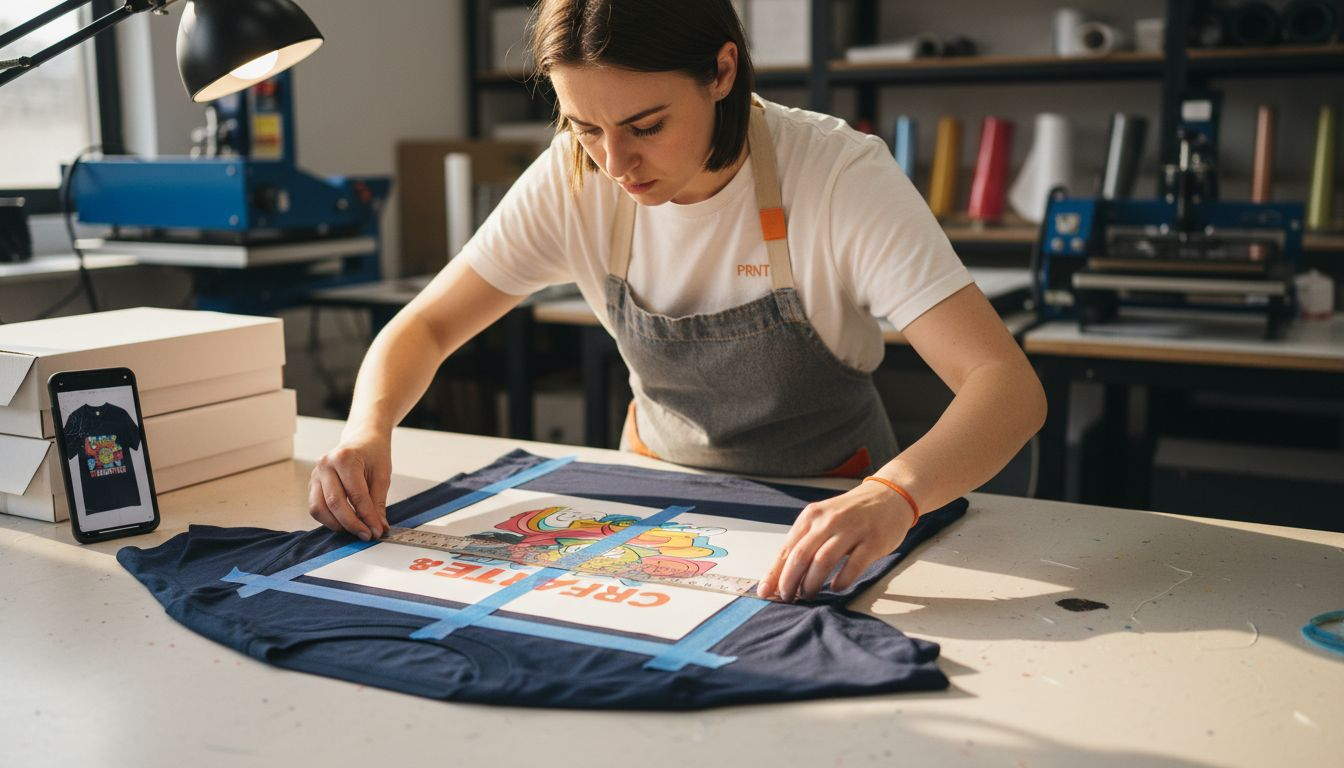
Pro tip: Always use a ruler or measuring tape to ensure symmetrical positioning, and take a quick smartphone photo to verify alignment before applying heat.
Step 3: Press and bond transfers accurately
Successfully transferring your design requires precision, timing, and understanding of heat press dynamics. DTF transfer application techniques demand careful attention to temperature, pressure, and duration to ensure a flawless final product.
Your heat press settings are critical for achieving a perfect transfer. You’ll need to configure three key parameters:
- Temperature (typically 305-320°F)
- Pressure (medium to firm)
- Duration (10-15 seconds)
Begin by preheating your heat press to the manufacturer’s recommended temperature for DTF transfers. Place a protective silicone sheet or parchment paper between the transfer and your heat press platen to prevent direct contact and potential damage.
Consistent pressure and temperature are the secrets to a professional-looking transfer.
Apply the transfer with firm, even pressure. Press down smoothly and steadily without sliding the heat press, which could distort your design. For most garments, follow these pressing steps:
- Position transfer precisely
- Close heat press gently
- Apply full pressure for recommended time
- Open press and remove transfer carefully
After initial pressing, allow the garment to cool completely before handling. Some transfers require a second light press to enhance adhesion and durability.
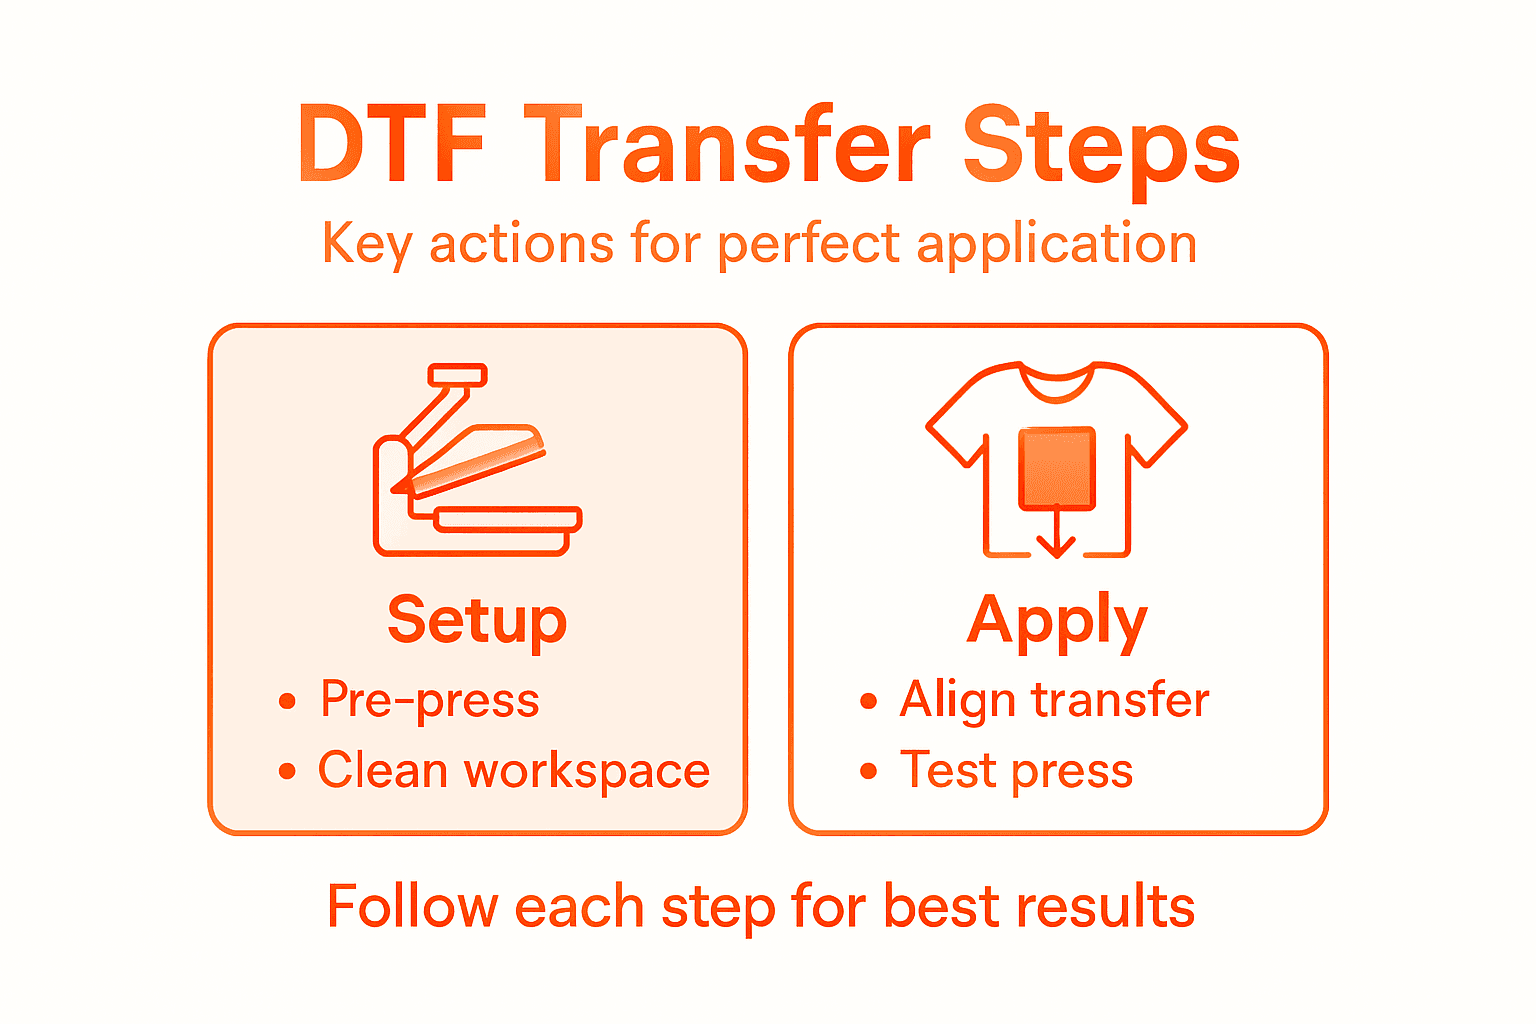
Pro tip: Always do a test press on a scrap fabric to dial in your exact heat press settings before working on your final garment.
Step 4: Peel and finish for optimal appearance
The final stage of DTF transfer application is critical for achieving a professional, crisp result. Custom apparel finishing techniques require careful attention to detail during the peeling and post-press process.
Peeling your transfer involves precise technique and timing. Different transfer types require unique approaches:
Here’s a quick reference comparing DTF transfer peel methods and their effects:
| Peel Method | Timing | Risk of Design Damage | Suggested Use Case |
|---|---|---|---|
| Cold Peel | After garment cools | Low | Complex designs, delicate details |
| Warm Peel | Immediately post-press | Moderate | Standard transfers, vibrant colors |
| Hot Peel | While film is warm | Higher | Bold designs, fast production |
- Cold peel transfers: Wait until completely cool
- Warm peel transfers: Remove film immediately after pressing
- Hot peel transfers: Peel while still warm
Remove the transfer film slowly and consistently, peeling at a 45-degree angle. Pulling too quickly or at an incorrect angle can damage your design or cause incomplete transfer.
A smooth, controlled peel is the hallmark of a professional DTF transfer.
After peeling, inspect your transfer for any imperfections. Look for:
- Complete color transfer
- Smooth edges
- No lift or gaps in design
- Consistent color saturation
Some transfers benefit from a light second press to enhance durability and ensure complete adhesion. This final step helps set the transfer permanently into the fabric fibers.
Pro tip: Always keep a clean, lint-free cloth nearby to gently smooth out any minor imperfections immediately after peeling.
Step 5: Verify transfer quality and durability
After completing your DTF transfer, a thorough quality check ensures your design meets professional standards. Custom apparel print validation requires careful examination of multiple visual and tactile elements.
Inspect your transfer using these critical assessment criteria:
- Color vibrancy and consistency
- Edge definition and sharpness
- Adhesion strength
- Fabric surface smoothness
- No visible cracking or peeling
Start by examining the transfer under good lighting, checking for any subtle imperfections. Run your fingers gently across the design to feel for uneven areas or potential weak points.
For easier troubleshooting, here is a summary of common DTF transfer quality issues and their likely causes:
| Issue | Possible Cause | Solution |
|---|---|---|
| Color fading | Incorrect press temperature | Adjust heat settings, check ink quality |
| Peeling edges | Inadequate pressure | Increase press pressure |
| Cracked print | Over-pressing or old garment | Reduce duration, use fresh fabric |
| Uneven adhesion | Poor garment preparation | Pre-press and lint roll garment |
A meticulous quality check separates professional results from amateur attempts.
To test durability, perform these verification steps:
- Stretch the fabric gently to check transfer flexibility
- Simulate washing conditions by rubbing transfer surface
- Check for color bleeding or transfer movement
- Assess overall design integrity
Key durability factors include transfer adhesion, fabric compatibility, and heat press technique. Conduct a preliminary wash test on a sample garment to validate long-term performance.
Pro tip: Create a test sample of each design and deliberately stress-test it through multiple wash cycles to understand its true durability before producing bulk orders.
Elevate Your DTF Transfer Process with Expert Support
Mastering a flawless DTF transfer requires precision in garment preparation, exact heat press settings, and perfect peel timing. If you find yourself challenged by aligning transfers accurately or achieving consistent, durable results, you are not alone. Many creators and businesses face these exact pain points every day—wrinkles, uneven pressure, and peeling issues can all undermine your professional finish.
That is where DIY Printz comes in. We specialize in delivering high-quality, ready-to-press DTF transfers that remove the hassle of managing heat press variables and garment prep. Whether you need small runs or bulk production, our services empower you to focus on growing your brand while we handle precision printing and production. Explore how our DTF transfer application techniques can simplify your workflow and guarantee consistent quality every time.
Experience the confidence that comes with transfers crafted by experts who understand the critical details this guide highlights. Start streamlining your production today by visiting DIY Printz and accessing reliable, cost-effective, and high-volume DTF solutions tailored to your needs.
Frequently Asked Questions
How do I prepare garments for DTF transfer application?
To prepare garments for DTF transfer, select high-quality fabric like cotton or polyester blends, and ensure they are clean, smooth, and pre-washed to prevent shrinkage. Start by running the garment through a heat press for 3-5 seconds to eliminate moisture and wrinkles before applying the transfer.
What is the best way to align DTF transfers on garments?
To align DTF transfers accurately, measure and mark the garment’s center point and use temporary alignment markers. Dry fit the transfer on the garment before the final heat application to ensure it’s positioned correctly relative to seams and edges.
What heat press settings should I use for DTF transfers?
Set your heat press to a temperature between 305-320°F, apply medium to firm pressure, and press for 10-15 seconds. Make sure to preheat your heat press and use protective parchment paper to prevent damage to your design during the transfer process.
How should I peel the transfer film after pressing?
Peel the transfer film carefully at a 45-degree angle, following the appropriate timing for your transfer type—cold, warm, or hot peel. For optimal results, allow the garment to cool completely if using a cold peel, or remove it immediately for warm peels to avoid damaging the design.
What should I check for during the quality verification of DTF transfers?
During quality verification, inspect the transfer for color vibrancy, edge definition, and complete adhesion. Run your fingers across the design to identify any uneven areas, and perform simple durability tests like gently stretching the fabric to ensure the transfer withstands wear.
How can I enhance the durability of my DTF transfers?
To enhance the durability of your DTF transfers, ensure they are applied correctly with appropriate heat and pressure, and consider doing a light second press after peeling. Conduct a preliminary wash test on a sample garment to confirm the long-term performance of your design.
Recommended
- 7 Essential Steps for a Complete DTF Printing Checklist – DIYPRINTZ
- DTF Transfer Workflow Guide for Custom Apparel Success – DIYPRINTZ
- Why Use DTF Transfers for Apparel Success – DIYPRINTZ
- DTF Kingz Hybrid DTF Techniques in Davie, FL | DIY Printz – DIYPRINTZ
- Window Tinting Step by Step for Flawless Results
- How to Prepare Artwork for Print: Step-by-Step Success Guide
READY TO PRINT?
Send us your artwork and we'll dial in your DTF transfer, color, and same-day turnaround.


